Create Your First User
Your own login administers the account. To publish artifacts to your repositories, or to retrieve them, your team needs repository users: accounts you create in the admin portal, each with an email address and a password.
This guide walks through creating one and setting what it can do.
How Access Works
Section titled “How Access Works”Two things control what a repository user can do, and both are set on that user’s settings page after the account exists:
- Repository access is account wide. A user either has read and write access to every repository in your account, or read only access to every repository. There is no per repository assignment.
- Administrator permissions are granted one area at a time: billing, repositories, software distribution, users and webhooks. A user you create has none of them.
Creating a User
Section titled “Creating a User”Step 1: Open the Users Page
Section titled “Step 1: Open the Users Page”- Log in to the CloudRepo Administrator Portal
- Click Users in the sidebar
- Click Create User
Until you have created anyone, the page reads “No users yet” and offers a second Create User button in the middle of the page. Either one opens the same form.
Step 2: Fill In the Form
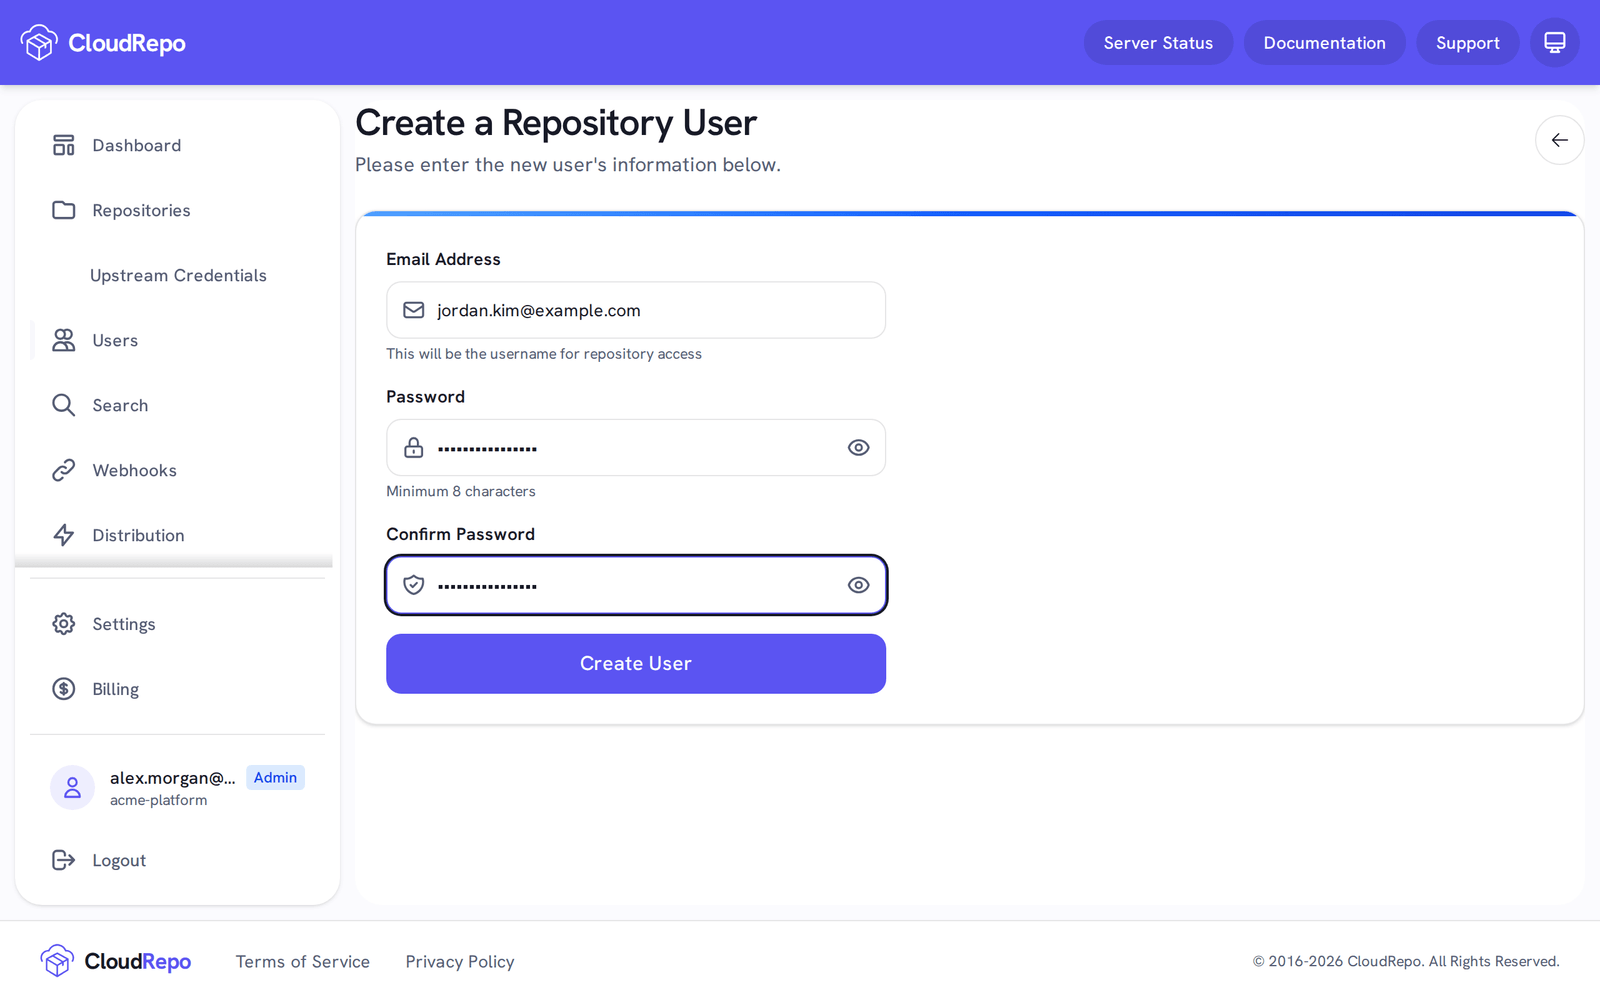
Section titled “Step 2: Fill In the Form”The Create a Repository User form asks for three things:
- Email Address - this becomes the username for repository access
- Password - at least 8 characters
- Confirm Password - must match the password
Each password field has an eye icon on the right that reveals what you have typed.
The Create User button at the bottom of the form stays disabled until all three are valid. A
password under 8 characters is marked Password must be at least 8 characters, and a
confirmation that differs is marked Passwords do not match.
Step 3: Create the Account
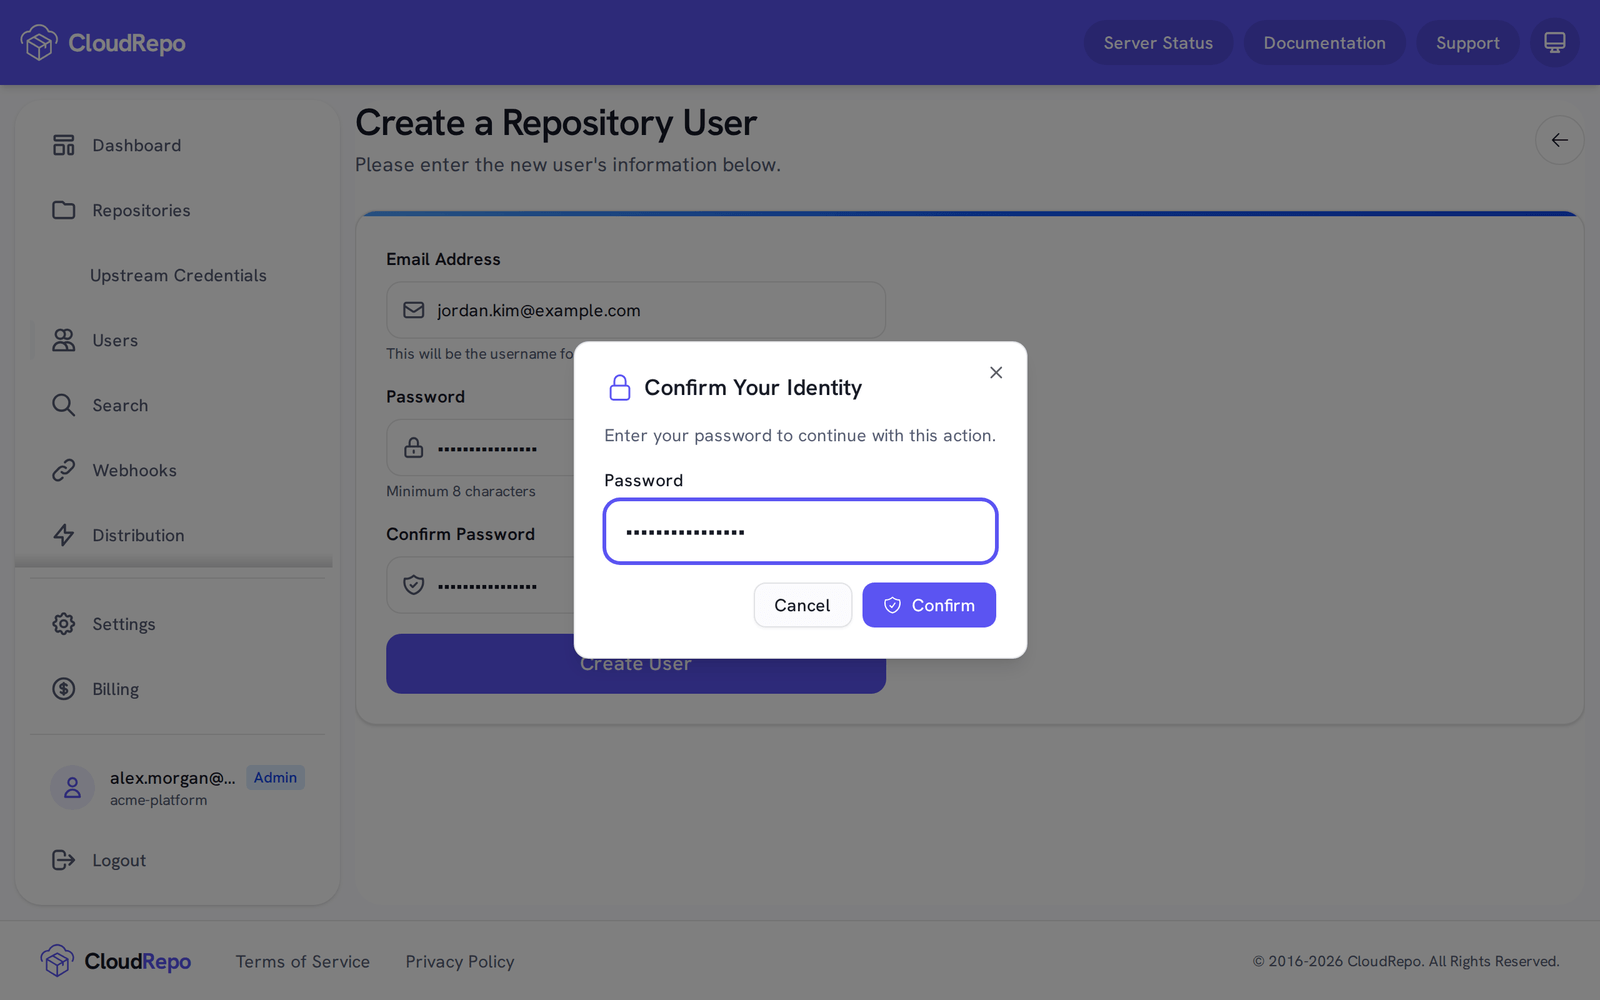
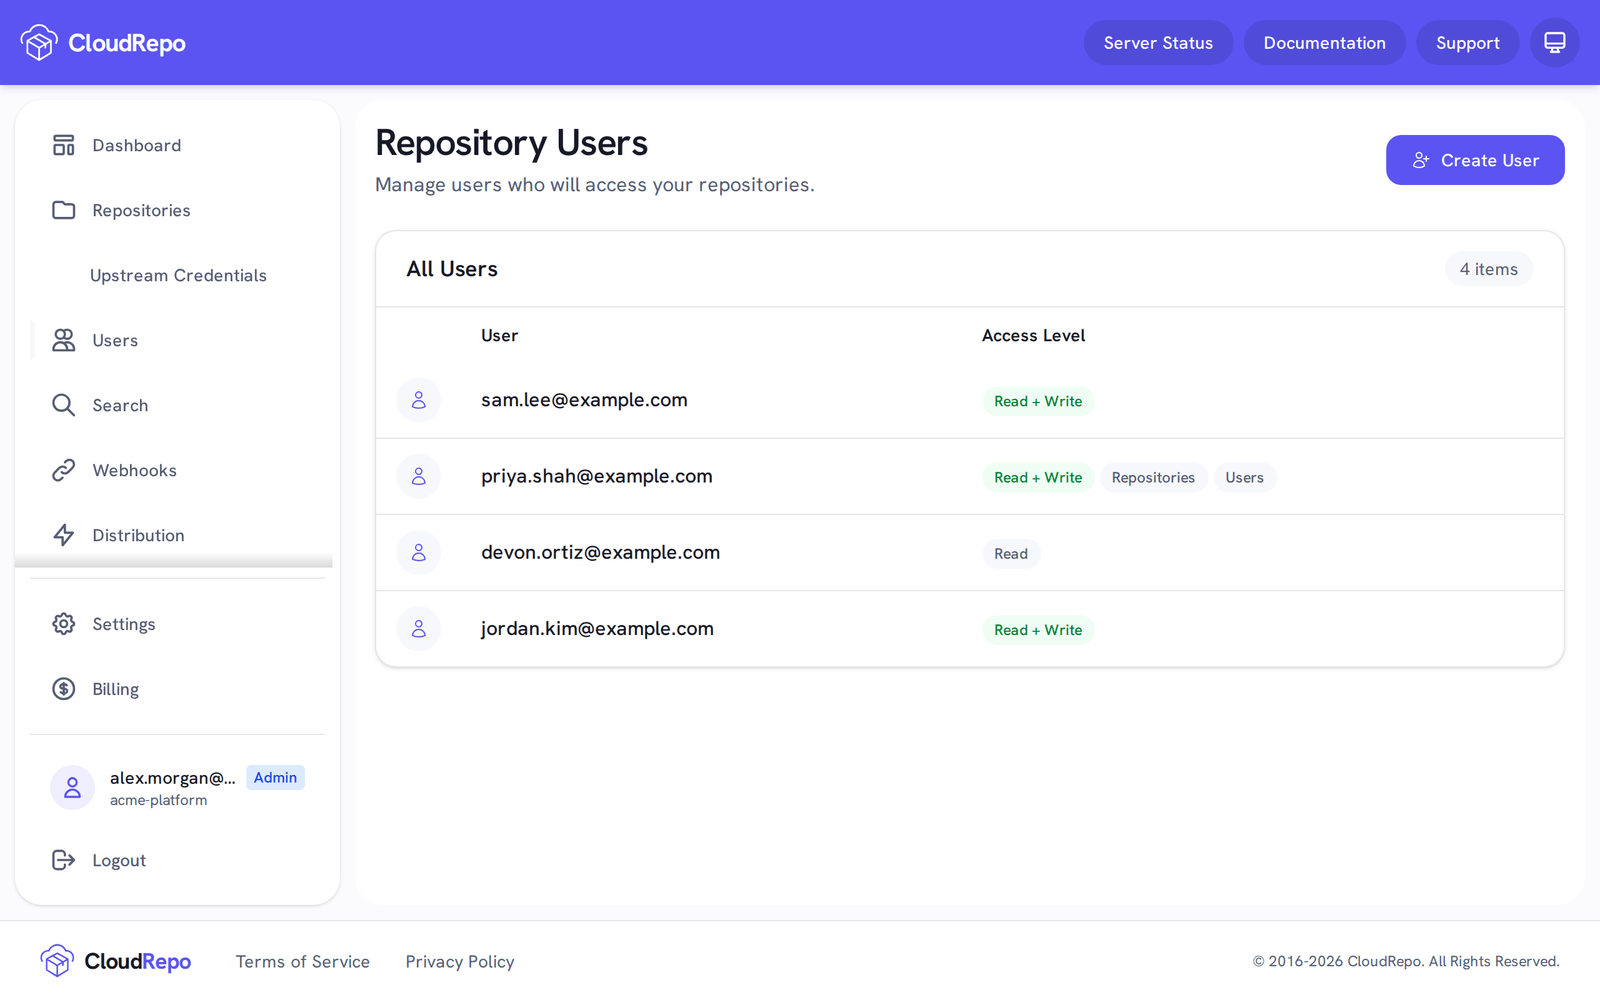
Section titled “Step 3: Create the Account”Click Create User. If you have not confirmed your identity in the last 15 minutes, a Confirm Your Identity dialog comes first: enter your password and click Confirm. The portal then returns to the Repository Users list with the new account in it.
You chose this user’s password, so you are the only one who has it. CloudRepo does not email it to them. Send it over a channel you trust, and send it on its own.
Changing What a User Can Do
Section titled “Changing What a User Can Do”Click a row in the Repository Users list to open that user’s User Settings page.
Read Only Access
Section titled “Read Only Access”A new account gets your own repository access. When you have read and write access, Read Only User is off for it, which the page states as “User has read and write access to all repositories”. Turn it on to limit that user to reading.
Administrator Permissions
Section titled “Administrator Permissions”Five toggles delegate account administration, one area each:
- Manage Billing
- Manage Repositories
- Manage Software Distribution
- Manage Users
- Manage Webhooks
They are independent of repository access, and they are all off for a user you create. See User Management for what each one covers.
Changing a Password
Section titled “Changing a Password”Click Change Password on the user’s settings page. The Manage Member page that opens asks for a New Passphrase and a Confirm New Passphrase.
Removing a User
Section titled “Removing a User”- Open the user’s settings page from the Repository Users list
- Click Delete User
- Type the user’s email address into the confirmation box. The dialog warns that “This action cannot be undone. The user will be permanently removed”, and its Delete User button stays disabled until the address matches
- Click Delete User
Best Practices
Section titled “Best Practices”-
Grant the minimum. A user you create starts with your own repository access: read and write when you have it. If the account only needs to download artifacts, turn on Read Only User as soon as you have created it.
-
One account per person, and one per system. Give a CI pipeline its own repository user rather than sharing a teammate’s, so that removing one never interrupts the other.
-
Review the list periodically. The Repository Users page shows every account and its access level in a single table.
Troubleshooting
Section titled “Troubleshooting”- A user can download but cannot upload: check whether Read Only User is turned on for that account. Open their settings page and turn it off to restore write access.
Next Steps
Section titled “Next Steps”- Repository Tokens: Create One and Authenticate - Sign in as the new user and create the repository token its builds send, with the user’s email address as the username
- Basic Configuration Examples - Configure your development tools
- User Management - Full reference for user settings and permissions
- Continuous Integration and Deployment - Set up CI/CD integration